
Have recently been working on improving the webcam output from Near FM with an objective to make it suitable for rebroadcast on DCTV.
We used to have a basic cheap webcam mounted on the ceiling in studio and we’d put that stream up on YouTube. The issue with this was that we’d have to strip out the audio from the feed in order to avoid getting copyright strikes on YouTube, also YouTube would not allow you to embed that video feed on your website.
The company that we use for our audio livestream recently rolled out a video streaming service and it seemed to be a reasonably priced solution.
This is Shoutcast Solutions. It costs €125 a year for a 720p stream that allows up to 100 simultaneous viewers. 720p isn’t an ideal resolution, but seeing as how due to the lack of fibre internet connection into our building we’re stuck with having to cope with a low broadband speed, so anything higher than 720p would really eat into our upload speeds.
To handle the management of the actual video stream we’re using OBS (Open Broadcaster Software)
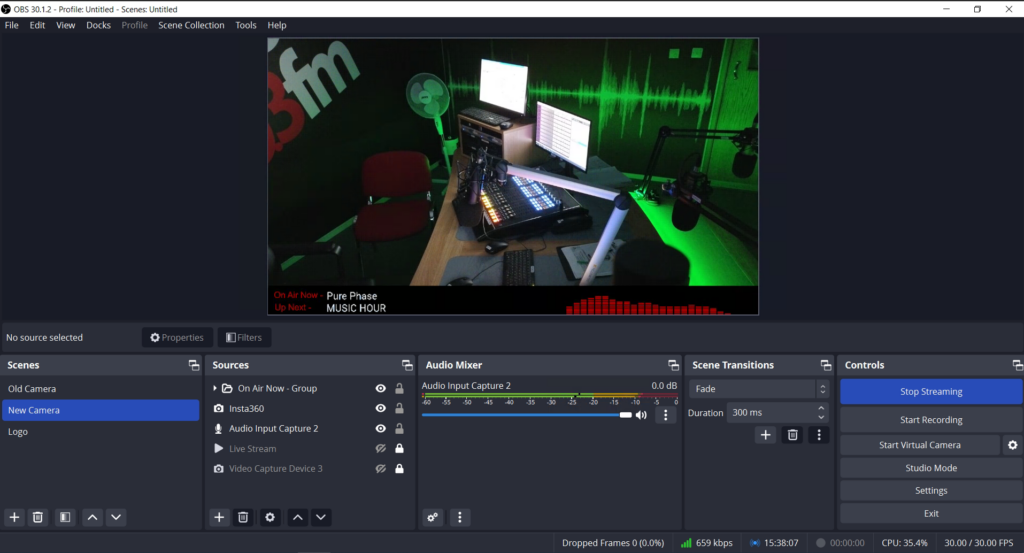
This is a free and open source. It’s an incredibly versatile piece of software with plenty of plugins that you can install to help achieve pretty much anything you can think of. It works by letting you set up scenes which can be layers of video and audio and any graphics you want. We currently use 3 scenes. One scene is the new webcam, another is the old webcam and a 3rd is static station logo.
Technical Setup –
Insta360 Link 4K Webcam €280
Elgato Stream Deck MK.2 – €180
We wanted a solution that would allow us to have different camera angles in the studio. Normally you’d need multiple cameras to pull this off but we’re using the Insta360 Link webcam which is a motorised camera that is capable of moving so that it is pointing at anything ‘almost’ within a 360° sphere.
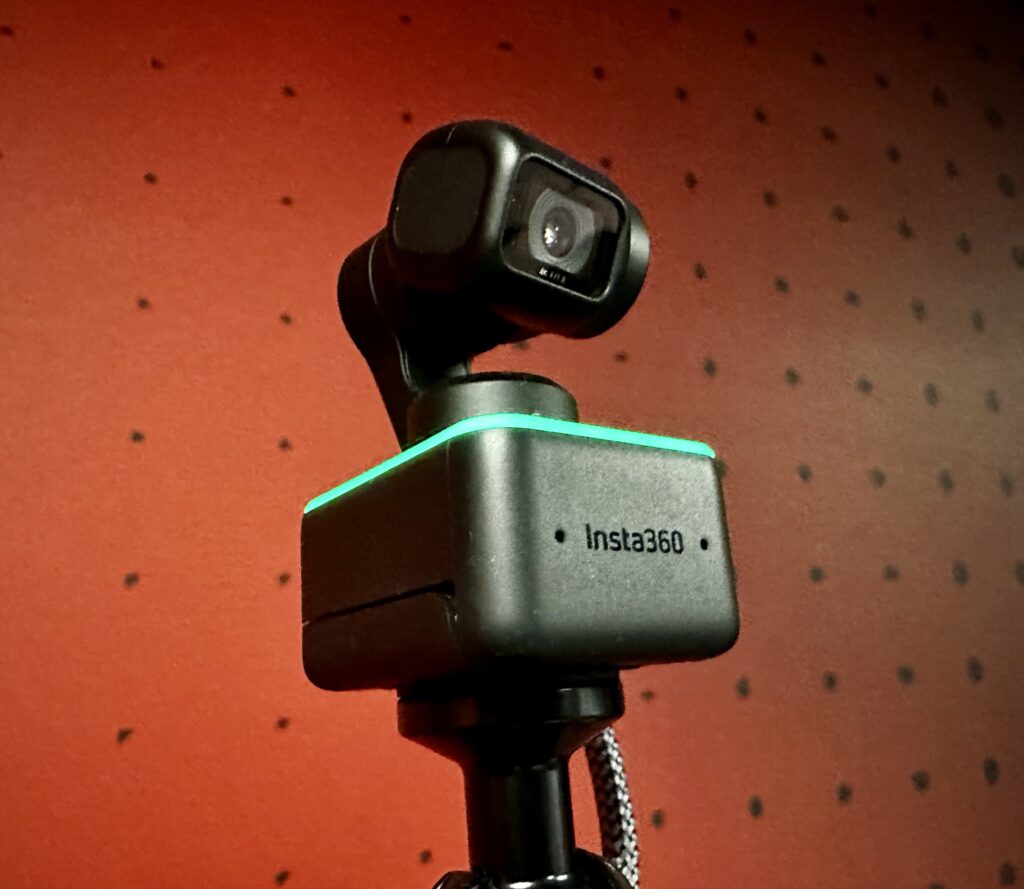
You can set up the angles you want it to point at and essentially add them as bookmarks so you can make the camara flick back to that position at the press of a button.
That’s where the Streamdeck comes in.
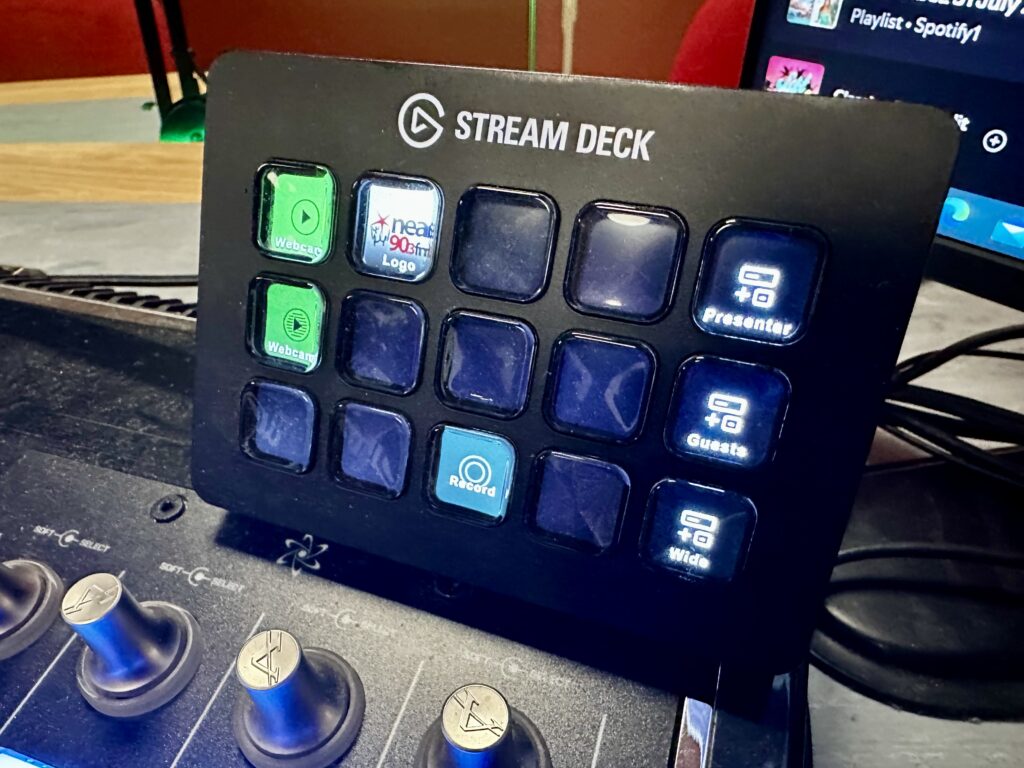
The Streamdeck is basically a panel of buttons that are fully programable to act as shortcuts for almost any function you can think of on the PC. I was able to set up a button for each camera angle that we want so that control of camera can be done easily by anyone sitting at the mixing desk in studio.
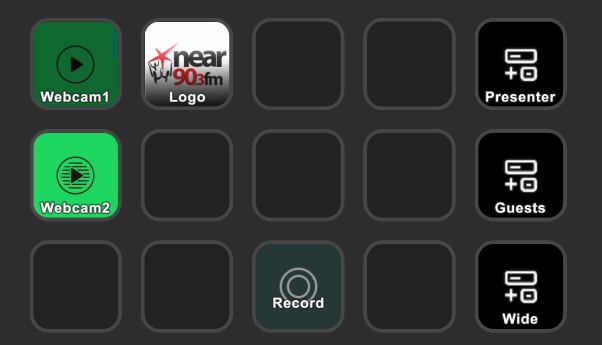
There’s a large variety of sizes of Streamdecks that come with different amounts of buttons. At the moment we could probably get away with just using the cheaper 6 button one but to give us more options down the road we opted for a 15 button one so if for instance we get around to putting a similar camera system in studio 2 we can set up controls for it here as well.
It was also very important for us to feature a privacy option for presenters who didn’t want to appear on the webcam, so a button was added that triggers a scene in OBS that is just the logo displayed with the audio output still playing.
I’ve set up shortcuts to control the Insta360 Link webcam with 3 buttons positioning the camera on Presenter, Guests or a wide shot of the them both.
There’s also a button that triggers recording on and off. This will output an MP4 file recording of the audio and video as it was streamed.
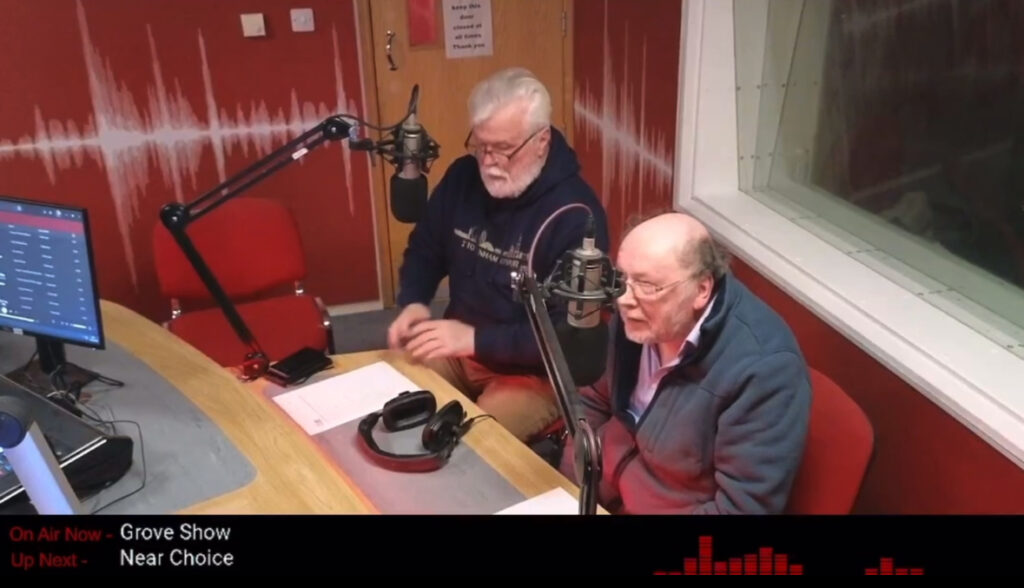
I felt the logo was a little bit plain on it’s own so I used a plugin for OBS called ‘Waveform’ which let me set up a little graphical VU meter on the bottom of the feed. I then wanted to be able to add what programme is currently playing and what is coming up next. Our schedule is stored on a Google Calendar and I’m able to export a .ics file from that with all the calendar details in it. Our website is in WordPress and I’m using a plugin called WP Event Aggregator to import that .ics file from Google and it displays all of the events from it on a page with the current and next one at the top of the page.
There’s probably a more efficient way to do this via JSON, but I could not get the Google Calendar API to place nice with me, so this is my sort of rough and ready solution.
This is what the page generated in WordPress from the .ics file looks like:
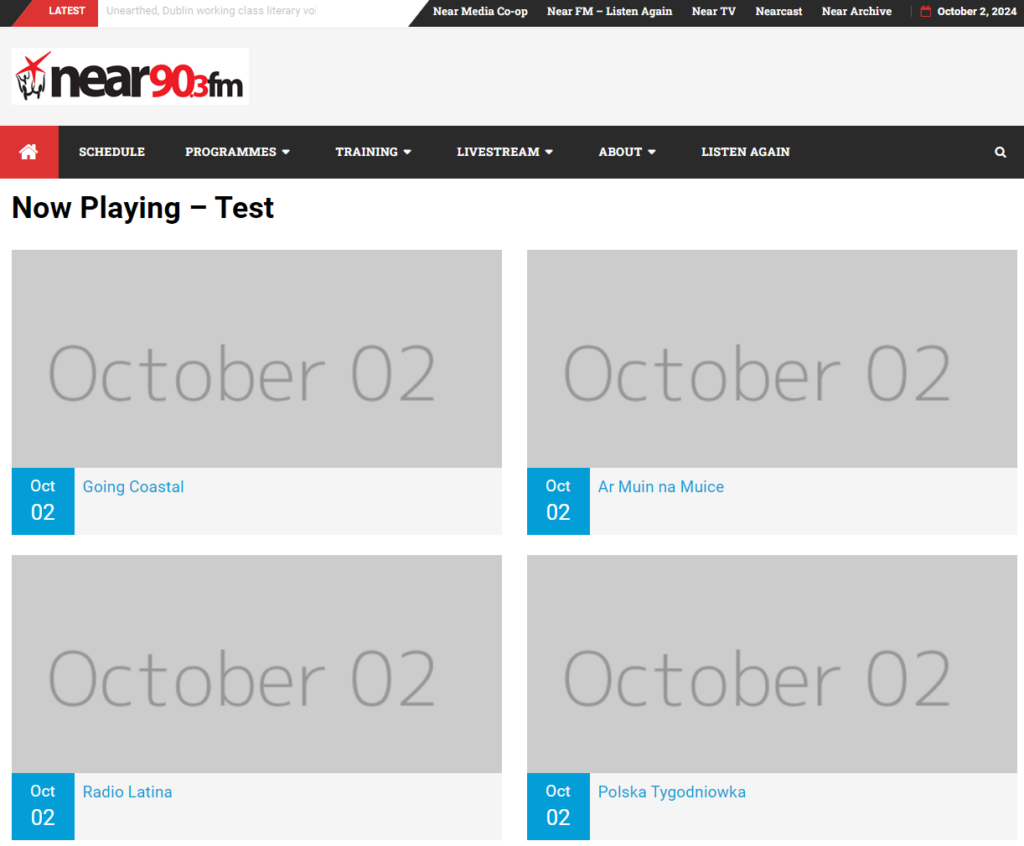
The idea is to add a web browser layer in a scene in OBS that is cropped right down so that it is only showing the portion of the web page that displays what is currently airing. That page updates based on the current time and pulls the information from the .ics calendar file, but in order to see that change happen you would have to refresh the page. It didn’t seem possible to force OBS to do that refresh so I made a simple HTML page that loads the above WordPress page into an iFrame and then refreshes the contents of that iFrame every 60 seconds meaning you’ll always have an up to date version of what is currently scheduled to be played.
HTML code is as follows:
<!DOCTYPE html>
<html>
<head>
<style>
iframe {
width:1280px;
height:720px;
border:0px;
}
body {
overflow: hidden;
background-color: black;
border:0px;
margin:0px 0px 0px;
}
</style>
<script>
function reload() {
setTimeout(function() {
document.body.firstElementChild.src+=””,
reload()
}
,60000)
}reload();
</script>
</head>
<body>
<iframe src=”https://nearfm.ie/now-playing-test“;>
</iframe>
</body>
</html>
Substitute the section in bold with your own page that you want to refresh.
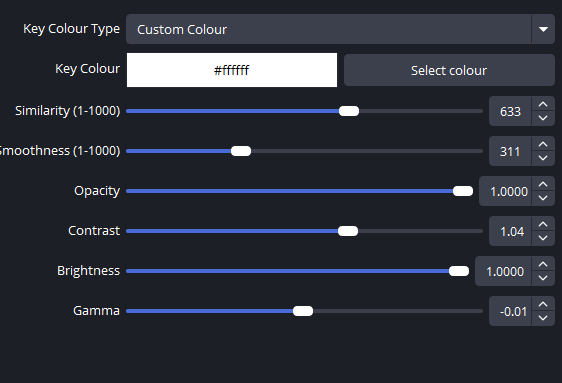
You have a lot of cropping, colour replacement, transparency and chroma keying options in OBS to allow to grab just the bit of text form the website that you want and add to the layer at the bottom of the scene. There are of course basic options to add text layers as well which let me add the ‘Now Playing’ and ‘Up Next’ text. This is done by applying the ‘Colour Key’ filter to your browser layer.
Here is the list of sources for the scene that I put in place to display the new camera, now/next status and the VU meter.
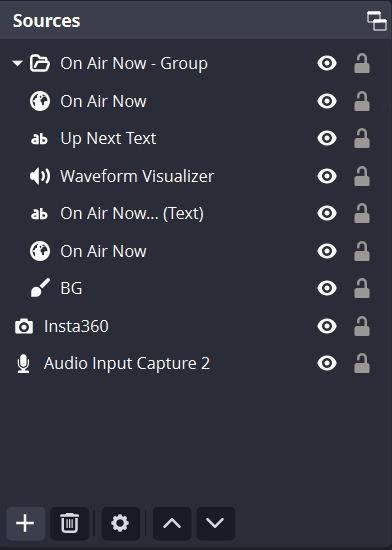
There are two other similar scenes, one for the logo and one for the old camera which I’ve kept in place.
Soon I’m hoping to add an RSS feed to the logo page or maybe a scrolling message that will display the latest updates about upcoming events at the station.
And you can view the current live feed of the webcam here: